REVIEW · VANCOUVER
Photography, Hiking & Ferry to Bowen Island
Book on Viator →Operated by Nature PhotoHikes · Bookable on Viator
One trip off Vancouver that feels both scenic and practical: Bowen Island by ferry with photo coaching. I love how this stays small (max 6) so you actually get hands-on instruction, and you even get to borrow a DSLR plus complimentary photos from your guide. One thing to keep in mind is the pace can vary by day—some folks felt the outing ran closer to 4 hours—so plan your schedule with a little flexibility.
The day is built around an easy ferry crossing over Howe Sound, then a guided hike through old-growth forest, waterfalls, and wildlife. Guides (including photographers named Nafees in past experiences) focus on helping you shoot better, whether you use a phone or a camera you brought for the trip. Since it runs in all weather conditions, you’ll want to dress for wet and cool, not just for sunshine.
In This Review
- Key Things I’d Prioritize on This Tour
- How the Bowen Island Ferry Sets the Tone (and Your Photos)
- DSLR Borrowing and One-on-One Coaching That Actually Helps
- The Hike on Bowen Island: Old-Growth, Waterfalls, and Wildlife Time
- Stop-by-Stop: What Happens at Each Part of the Day
- Horseshoe Bay Ferry Terminal (Starting Point Energy)
- BC Ferries Bowen Island Snug Cove Terminal (First Views, Easy Transition)
- Bowen Island Visitor Centre (Photo Planning and Local Context)
- Killarney Lake Parking (The Part That Feels Like a Real Forest Day)
- Back to Bowen Island Visitor Centre (Finishing Strong, Not Burnt Out)
- What to Wear and Bring (So Weather Doesn’t Spoil Your Shots)
- Timing, Duration, and Pacing: The 6-Hour Idea
- Price and Value: Why $133.61 Can Make Sense
- Who This Tour Fits Best
- Should You Book This Bowen Island Photo + Hike Tour?
- FAQ
- FAQ
- What time does the tour start?
- How long is the tour?
- How many people are in the group?
- Is pickup available?
- Where does the tour start and end?
- Is a DSLR included?
- Are photos included?
- Is food included?
- Does it run in bad weather?
- Are service animals allowed?
Key Things I’d Prioritize on This Tour
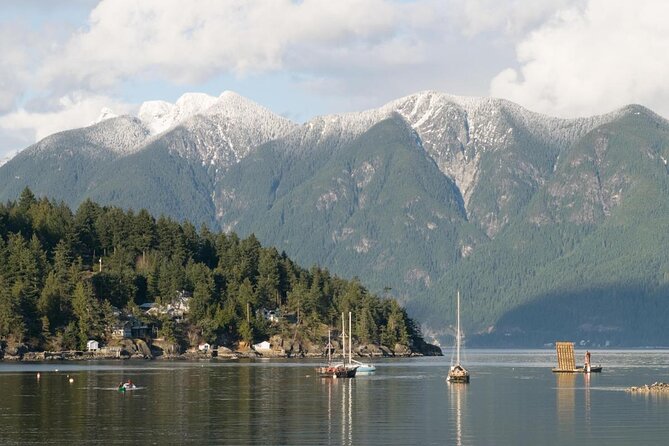
- Small group of up to 6 means more chances for personal coaching
- Ferry ride to Bowen Island delivers big views with almost no effort
- DSLR loaner + free photos lowers the barrier if you’re traveling light
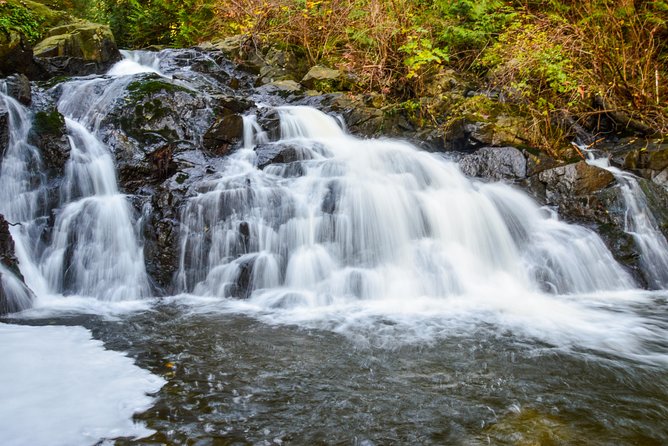
- Old-growth forest, waterfalls, and wildlife keep the hike interesting even between photo stops
- Fall colors and fallen leaves can add drama to your shots when the season lines up
How the Bowen Island Ferry Sets the Tone (and Your Photos)
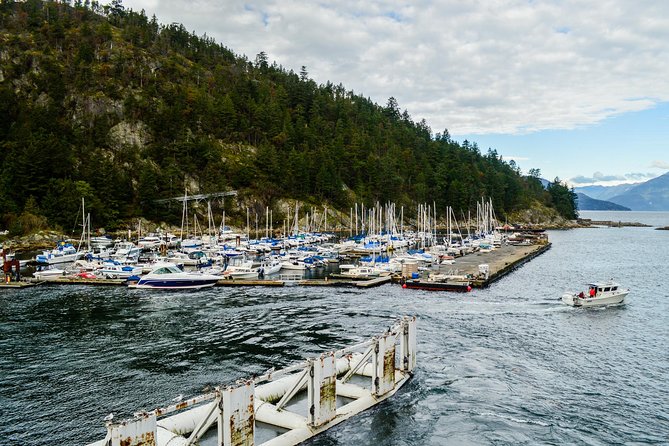
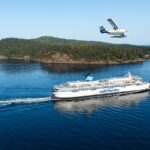
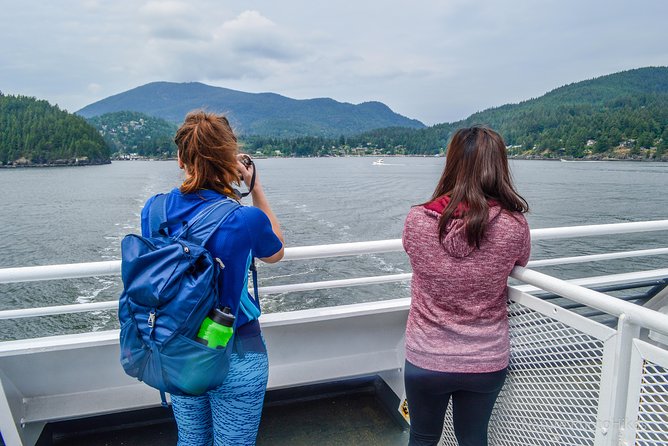
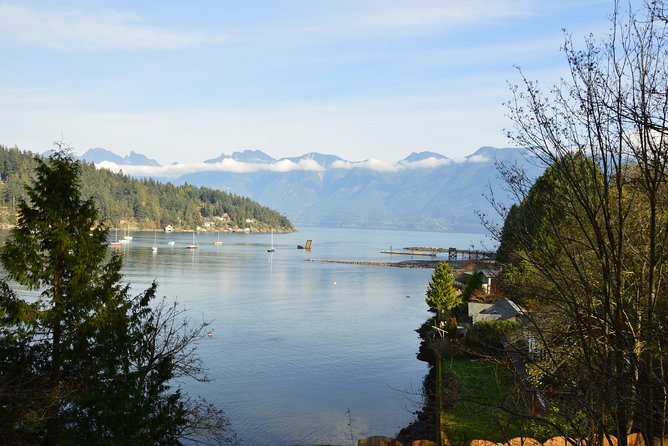
The ferry portion is not just transport. It’s the warm-up for everything else. You’ll start at the Horseshoe Bay Ferry Terminal area, then take BC Ferries across to Bowen Island’s Snug Cove terminal. From the water, Howe Sound’s islands and shorelines stretch out in front of you, and the light changes fast—perfect for learning how to work with real outdoor conditions.
For photography, this matters because you get a moving “classroom.” Boats shift the angle, skies flip the contrast, and you can practice quick decisions: where to stand, how to frame the horizon, and how to avoid overexposure when the water is bright. If your camera has manual controls, this is a great time to try them without feeling like you’re holding up the hike.
For non-photographers, the ferry is still the most relaxing part of the day. It’s “sit and look” time. You don’t have to carry heavy gear to enjoy the views, and even if you’re more into hiking than shooting, the ferry gets you into vacation mode fast.
DSLR Borrowing and One-on-One Coaching That Actually Helps
A lot of tours say they’ll teach photography. This one is built around something more useful: real time with a professional photographer and space for questions. Because it’s a small-group outing, the guide can watch your habits, not just give a lecture and hope it sticks.
The tour includes a borrowed DSLR if you want one. That’s a smart option if you don’t want to haul your own gear around Vancouver, or if you’re curious about how a camera handles than a phone. Even if you bring your own camera, the loaner concept lowers the intimidation factor. You can focus on learning instead of worrying whether your equipment is set correctly.
What you’re likely to work on during the hike is practical shooting: composition choices, getting the right settings for changing light, and learning when to switch approaches depending on what you see—forest texture, waterfall movement, or wildlife at a distance. In past days with photographers named Nafees, people specifically highlighted how helpful the instruction felt, and how you could use the tips beyond the tour (including on iPhone shots).
There’s also a built-in “no pressure” payoff: your guide captures memories for you and sends complimentary photos at the end. If you’ve ever been the person behind the camera who never gets good shots, that alone makes this worth considering.
The Hike on Bowen Island: Old-Growth, Waterfalls, and Wildlife Time
After the ferry, you’ll spend a few hours exploring Bowen Island. The vibe is calm, forest-focused, and nature-rich: old-growth forest paths, waterfall spots, and opportunities for wildlife sightings. The exact views you get depend on weather and the day’s conditions, but the structure is built to keep the scenery changing.
This kind of hiking works well for mixed groups. The tour explicitly welcomes all levels, and it doesn’t require you to be a hardcore trail runner. That matters because you’ll often pause for photography at footstep pace anyway. Even if you’re not chasing sunrise-type light, you’re learning to see details: how moss and trees create depth, how water creates texture, and how to pace yourself so you don’t sprint to the next stop and then rush your photos.
Wildlife sightings are possible. In past outings, seals were spotted near the ferry dock and on the island, which is the kind of moment that can become a standout photo even if you don’t have the perfect lens. If you’re flexible, stay alert on the edges—wildlife often shows up where you least expect it.
Stop-by-Stop: What Happens at Each Part of the Day
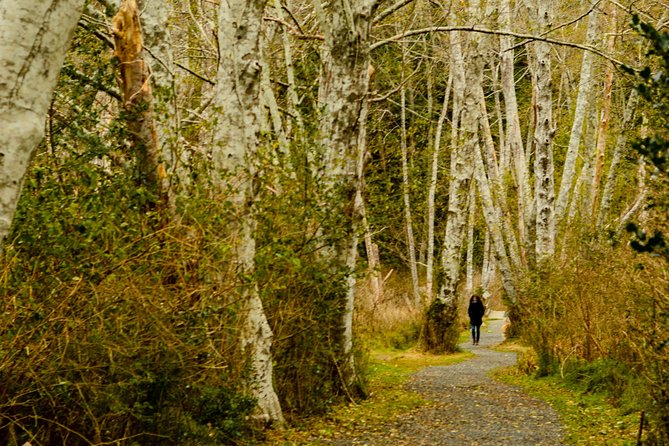
The itinerary is simple enough to follow, but it’s paced to give you time for photos rather than constant marching. Here’s how the day typically flows and what each stage is good for.
Horseshoe Bay Ferry Terminal (Starting Point Energy)
You’ll begin at Horseshoe Bay Ferry Terminal area and head onto BC Ferries for the crossing. This first segment is about getting oriented and settling in. If you want better ferry photos, think early about where you’ll stand on the boat and how you’ll frame the view as the coastline changes.
Practical tip: keep an eye on the light. Overcast can soften shadows (good for forest scenes later), while brighter skies can make water glare more intense (good for learning how to meter exposure).
BC Ferries Bowen Island Snug Cove Terminal (First Views, Easy Transition)
When you land at Snug Cove, you’re immediately in a different mood—still close to the water, but with the start of the island’s quieter energy. This is also a natural place for quick “arrival photos” of the terminal area and any wildlife you spot.
The biggest benefit of this stop is psychological. It gives you a smooth transition from ferry-time relaxation to hike-time focus. You’re not thrown into a steep trail with gear anxiety.
Bowen Island Visitor Centre (Photo Planning and Local Context)
You’ll spend time around the Bowen Island Visitor Centre. This stop is valuable because it’s a reset point. You can ask questions, confirm your gear setup, and get guidance on how to approach the next segments so you don’t waste time later.
In a tour like this, the strongest photos usually come from the moments where you stop, look, and decide deliberately. A Visitor Centre stop helps you do that instead of rushing straight into the woods.
Killarney Lake Parking (The Part That Feels Like a Real Forest Day)
Killarney Lake Parking is where you shift into the more trail-focused segment. This is the stage that pairs best with photography practice because forest light is different from the open water view. Expect texture: tree lines, forest depth, and likely waterfall-adjacent scenes depending on conditions.
This is also where your coaching pays off. You can apply the basics you learn—framing, exposure choices, and how to position yourself for depth—without the pressure of a long, exhausting day.
Consideration: if you’re sensitive to misty conditions, know this part of the day can feel damp or cool even if Vancouver is sunny. The tour runs in all weather conditions, so you’ll want clothing that can handle wet air.
Back to Bowen Island Visitor Centre (Finishing Strong, Not Burnt Out)
The day loops back to the Visitor Centre. That helps you wrap up instead of feeling stranded at the far end with no clear way to transition. It’s a good time to gather final photos, review what you learned, and take a breath before returning to the ferry stage.
What to Wear and Bring (So Weather Doesn’t Spoil Your Shots)
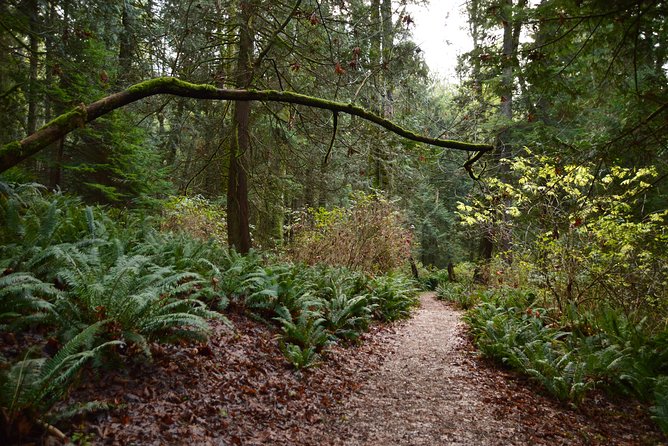
The tour operates in all weather conditions, and the best results come when you’re comfortable. The basics are straightforward: comfortable shoes, layers, and weather-appropriate clothing. Water and snacks are recommended, and food and drinks are not included.
Here’s what I’d pack based on how this day feels:
- Comfortable walking shoes with decent grip for forest paths
- A light rain layer or shell (you’re in an outdoor, watery environment)
- A small water bottle and a snack for the hike stretch
- Camera-ready items: lens cloth, extra memory card/battery if you have them
- If you’re borrowing a DSLR, bring a way to carry it safely (the day’s guidance will help, but plan as if you need a comfortable strap or secure pocket)
If you’re traveling with a phone camera, treat the hike like you’re building a mini visual story: a few wide shots from the ferry, then mid-distance scenes in the forest, then close-ups around waterfalls and textures.
Timing, Duration, and Pacing: The 6-Hour Idea
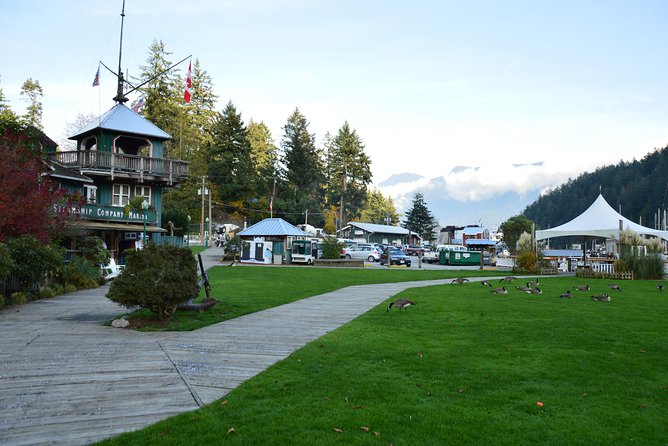
This tour is listed at about 6 hours, starting at 10:00 am, and it ends back at the meeting point in Vancouver. That timing includes ferry time plus the hiking/photography portion. A small group also helps because you’re not waiting for a large crowd to regroup.
One possible drawback is that some people felt their day ran around 4 hours and felt a bit rushed. That doesn’t mean the tour is “bad.” It means you should set expectations for a schedule that can tighten when weather or ferry timing shifts. If you’re trying to connect to something later that day, leave a buffer.
Price and Value: Why $133.61 Can Make Sense
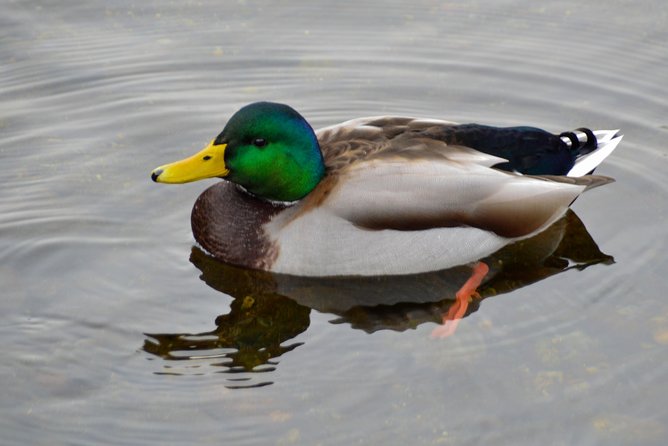
At $133.61 per person, this isn’t a budget-only activity, but the value is tied to what’s included. You’re paying for:
- a professional photographer guide
- guided small-group hiking
- transportation and the ferry ride
- a DSLR camera loan option
- photoshoot coverage with complimentary photos
If you compare this to a standard ferry day plus renting gear plus paying for guided photography instruction, the bundle starts to look reasonable. The DSLR loaner alone is a cost saver if you don’t want to bring or rent equipment. And the complimentary photos are a real perk because the guide is taking images for you while you learn—so you aren’t stuck trying to shoot everything yourself.
Also, small-group time is expensive. Maximum 6 travelers is what keeps the instruction personal. If you’ve ever taken a workshop and felt like a number, this structure matters.
Who This Tour Fits Best
This one is a great match if you:
- want the ferry experience plus an actual hike day
- like learning by doing, not just being told what to photograph
- want photo help whether you shoot a DSLR or a phone
- prefer small groups so questions don’t get lost
It also works well as a day before a cruise. The tour is centered on a scenic island escape without requiring planning beyond what to wear and what camera settings you want to practice.
If you’re the type who dislikes any kind of walking at all, you might find the hike portion limiting. But if you can handle a forest trail pace with photo stops, you’ll likely feel it’s a good balance.
Should You Book This Bowen Island Photo + Hike Tour?
I’d book it if you want a calm nature day with real photo guidance baked in. The best part is the combo: ferry views you’ll enjoy even without a camera, plus structured coaching that helps you take better photos once you’re on land.
I’d think twice if your schedule is tight and you cannot tolerate timing changes. Some days may feel closer to 4 hours than 6, so don’t plan a hard stop right after this tour.
If your goal is a practical, scenic Bowen Island day with photos that actually come out well, this is a strong choice.
FAQ
FAQ
What time does the tour start?
It starts at 10:00 am.
How long is the tour?
It’s listed as approximately 6 hours.
How many people are in the group?
The tour has a maximum of 6 travelers.
Is pickup available?
Yes. You can be picked up from a downtown hotel or rental accommodation, the Hyatt hotel, or the starting point.
Where does the tour start and end?
It starts at WB W Georgia St @ Granville St in Vancouver, BC, and it ends back at the same meeting point.
Is a DSLR included?
A DSLR camera can be borrowed as part of the experience.
Are photos included?
Yes. You’ll receive complimentary photos taken during the tour.
Is food included?
No. Food and drinks are not included, so bringing water and snacks is recommended.
Does it run in bad weather?
It operates in all weather conditions, and it requires good weather. If it’s canceled due to poor weather, you’ll be offered a different date or a full refund.
Are service animals allowed?
Yes, service animals are allowed.