REVIEW · VANCOUVER ISLAND
One-Way High-Speed Passenger Ferry: Victoria, BC to Seattle, WA
Book on Viator →Operated by FRS Clipper · Bookable on Viator
Fast ferries beat airport hassles. This one-way Victoria, BC to Seattle, WA ride cuts out the drive and puts you right on the water for a scenic Pacific Northwest crossing on the high-speed Clipper. You start at Victoria’s Inner Harbour and end at Seattle’s Pier 69, which makes lining up tours and transport after you land a lot simpler.
I love that it’s straightforward and efficient: you check in, board, choose your seating level, and then just relax. I also love that you get views from the upper deck if you upgrade, which turns the trip from A-to-B into something you’ll remember.
The main drawback to keep in mind is timing at the US side: once you arrive, you still have customs in Seattle. If you’re planning a tightly scheduled day, I’d build in extra buffer time just in case the process runs slower that day.
In This Review
- Key Points to Know
- Victoria Inner Harbour to Seattle Pier 69: The Quick Pitch
- Price, Timing, and When to Book
- Boarding at Victoria’s Inner Harbour: What the Start Feels Like
- Seats and Seating Grades: Economy vs Vista Class (and a Small Reality Check)
- The Route You’ll See: Gulf Islands, Puget Sound, and Strait of Juan de Fuca
- Onboard Food, Duty-Free, and That Easy-Going Pace
- Arriving in Seattle: Disembarking and the Customs Reality
- Luggage Rules: Carry-On Only vs Checked Bags
- Who This Ferry Best Fits (and Who Might Skip It)
- Should You Book This One-Way Ferry to Seattle?
- FAQ
- How long is the ferry ride from Victoria to Seattle?
- Where do I depart in Victoria?
- Where do I arrive in Seattle?
- Is this a mobile-ticket experience?
- What seating options are available?
- Is checked luggage included?
- How much carry-on luggage can I bring?
- Can I buy food and drinks onboard?
- What documents do I need for the border crossing?
- What is the cancellation cutoff?
Key Points to Know
- Downtown-friendly end point at Pier 69 in Seattle, near lots of tour options
- Multiple daily departure times so you can match the ferry to your schedule
- Economy vs Vista/Comfort seating changes how close you are to the best views
- Duty-free shopping plus a galley/bar with food and drinks you can buy
- One small carry-on allowed, while checked bags cost extra each way
- Passport details required at booking, and your ferry won’t be confirmed without them
Victoria Inner Harbour to Seattle Pier 69: The Quick Pitch
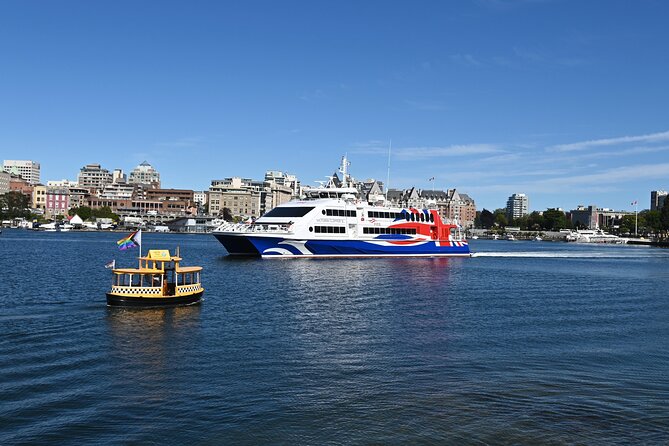
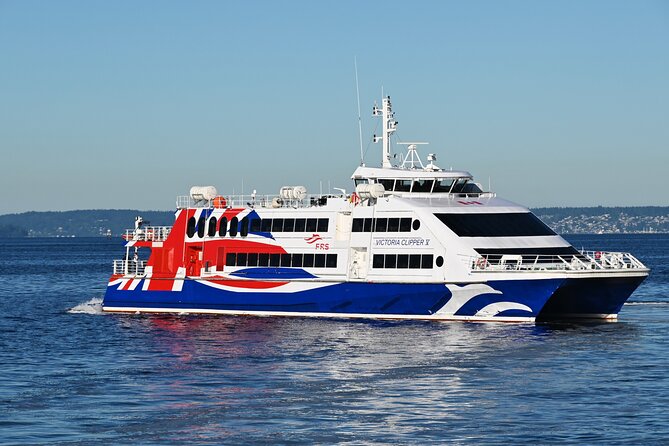
If you’re trying to get from Vancouver Island to Seattle without juggling flights, this is one of the most practical moves you can make. The ferry is passenger-only, so you’re not dealing with car logistics. Instead, you show up, board, and settle into a comfortable ride that takes roughly 3 hours.
The big win for me is the geography of it. You depart from 254 Belleville St. at Victoria’s Inner Harbour, and you arrive at Pier 69 at 2701 Alaskan Way—on the Seattle waterfront. That usually means less time figuring out last-mile travel than you’d have after a lot of other transport options.
The crossing also has a “see it without trying” vibe. You sail through Puget Sound and past islands and water landmarks, so even if you don’t plan to do anything onboard, the trip itself feels like part of the day instead of an uncomfortable chore.
Price, Timing, and When to Book
The price is $136.50 per person for a one-way ride, with the trip ending after disembarking in Seattle. In plain terms, you’re paying for speed, a downtown-to-downtown route, and a low-stress way to cross the border. For some travelers, that value is exactly what makes it beat driving or flying when you factor in time and hassle.
This is also the kind of service that tends to get snapped up. On average, it’s booked about 45 days in advance, so if you have a specific date, you’ll want to lock it in early.
Duration is listed as about 3 hours, but treat it like a “ferry plus customs” half-day plan. Customs is the variable. You can be perfectly on schedule and still lose time after landing if the queue is slow.
Boarding at Victoria’s Inner Harbour: What the Start Feels Like
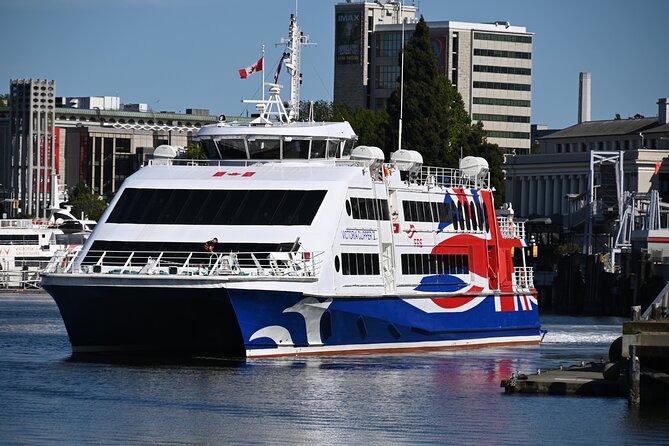
Your trip starts right at Victoria’s Inner Harbour. Check in, get your bearings, and then board your clipper. The process is set up for smooth passenger flow, and the vessel is accessible for wheelchair users, so you’re not going into a chaotic, unmanaged boarding situation.
Seating is part of the decision you make early. You can stay in Economy Class in the main cabin area, or upgrade to Vista Class for upper-deck seats that focus on views. Both options are designed for passenger comfort, but the difference is about where you’ll spend your time during the ride.
Once you’re seated, the trip becomes simple: relax, look out, and let the ferry do the work. The ride passes through scenic waters, so even short attention shifts are rewarded with something to see.
Seats and Seating Grades: Economy vs Vista Class (and a Small Reality Check)
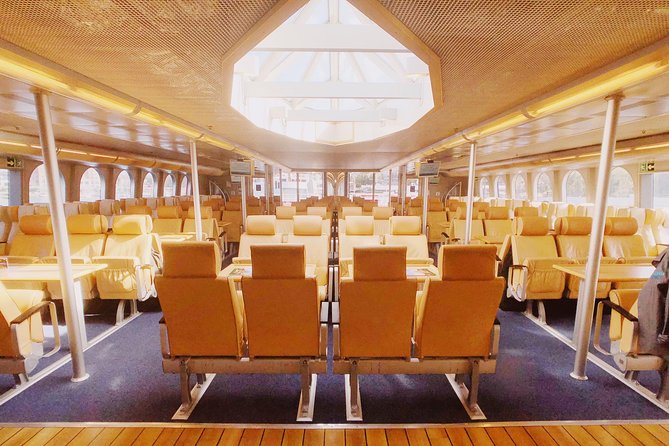
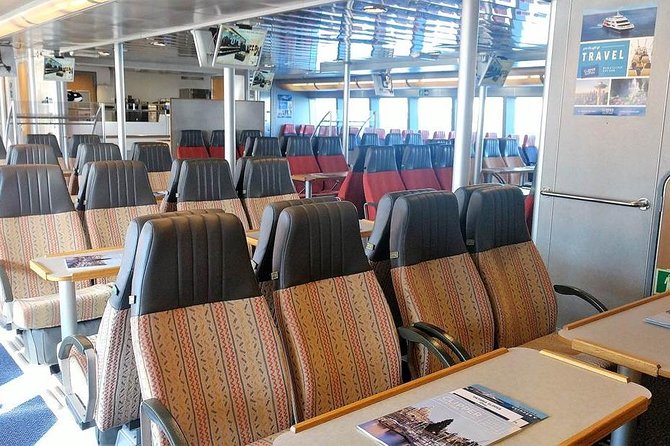
Here’s the practical way to think about the seating grades. Economy Class gets you into the main cabin—solid if you want comfort and don’t care as much about being high and near the windows. Vista Class is your choice if you want the upper deck experience, including standout views (and photos) as you head into Seattle waters.
I also like that the ferry is set up so people can move around. You can walk the decks, and the ship feels roomy rather than cramped. Bathrooms are reported as clean, and there are areas where you can sit with a table—useful if you’re traveling with someone and want a calmer setup than just facing forward.
One reality check: there can be confusion around what seat level you actually receive. A passenger had an issue where they booked premium seating but were given economy at first. My advice is simple: double-check your seat level right when you board, and if something looks off, alert staff early so it gets corrected before the ferry departs.
The Route You’ll See: Gulf Islands, Puget Sound, and Strait of Juan de Fuca
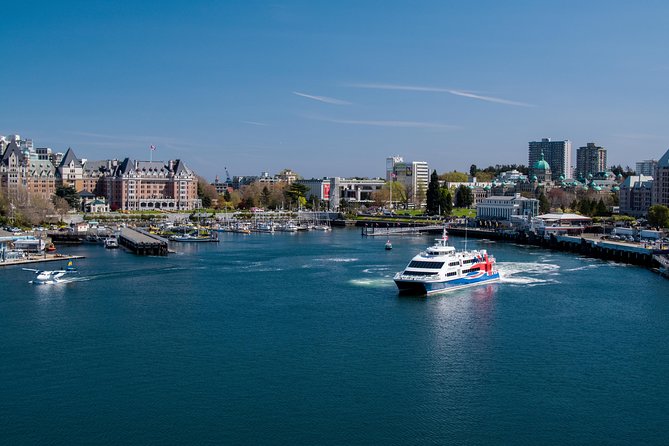
You’re not just crossing; you’re traveling through a postcard route. The ferry sails past the Gulf Islands, through Puget Sound, and into the Strait of Juan de Fuca. That matters because it turns your ride into a moving viewpoint.
If you like watching changing water and coastline details, you’ll enjoy having windows or open deck access during the trip. The crossing is also described as smooth and relaxing for many people, even with warnings about possible turbulence. In other words, it’s not a “white-knuckle” experience for most riders, but it’s smart to be prepared.
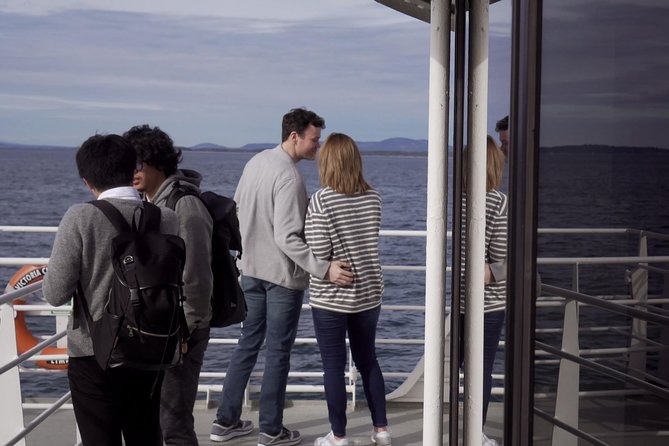
If you can swing it, upper-deck seating is the easiest way to maximize what you see. People specifically mention great sightlines from the upper level, including the feeling of catching late-day light and scenery.
Onboard Food, Duty-Free, and That Easy-Going Pace

While you’re underway, the ferry offers more than just seats. There’s duty-free shopping onboard, so you can browse without planning a separate stop. For many travelers, this turns the trip into a short break where you can reset and pick up a few things you’d normally buy later.
Food and drinks are available for purchase. The menu is described as locally sourced, with a galley/bar setup that works well if you want a drink or a snack during the ride. Some passengers mention good food choices and even hot drinks from the onboard galley.
The onboard pace is the opposite of stressful travel. You board, find your spot, and then you’re on “water time” until you reach Seattle. That’s a big part of why people rate this experience so well for comfort.
Arriving in Seattle: Disembarking and the Customs Reality
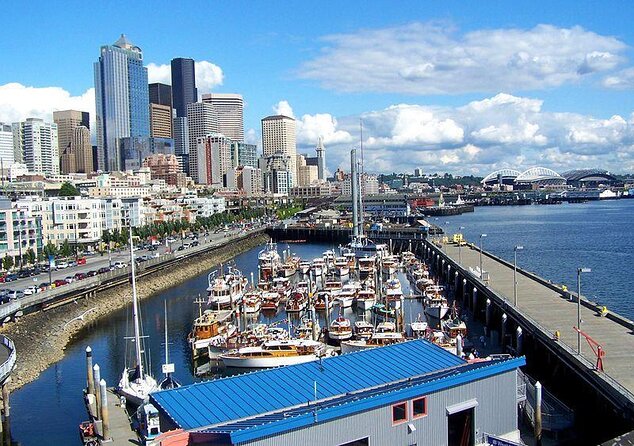
You’ll reach Seattle at Pier 69. It’s a convenient docking station in the heart of the city, and that’s why this ferry works so well for tour planning afterward. Once you step off the vessel, your ferry experience ends.
The thing to plan for is customs processing on the US side. In one case, slow customs in Seattle was called out as the only real negative. I’d treat customs like the only true wildcard. If you have an afternoon reservation, allow extra slack so you’re not rushing through the rest of your day.
The good news: a lot of the rest runs smoothly. Boarding and the overall ship experience tend to be well organized, and crew members are described as friendly and helpful.
Luggage Rules: Carry-On Only vs Checked Bags
This ferry has a simple luggage structure. You’re allowed one small carry-on item, and the service is built around you keeping your main item with you rather than checking everything in. Checked luggage is not included and costs extra—listed as $20.00 per piece each way.
This matters because pack-light travel is easier here. If you can fit what you need into the allowed carry-on size, you’ll save money and reduce the chance of delays from luggage handling.
Also, bikes and dogs have restrictions. If you need to bring a bike or a dog, you have to advise at booking time. That’s one of those details that can be annoying to handle last-minute, so plan ahead.
Who This Ferry Best Fits (and Who Might Skip It)
This one-way ferry is best if you want:
- a fast, scenic way to cross without driving to a ferry terminal system and dealing with a vehicle
- an arrival point in downtown Seattle at Pier 69
- comfortable seating and an onboard break with duty-free and food options
I’d also consider it a strong choice if you value accessibility and smooth handling. The ferry is accessible for wheelchairs, and staff have been described as helpful with boarding and leaving the boat for someone using a walker, including pre-boarding and assistance.
You might choose something else if:
- you need to bring a car (this is passenger-only, so autos are not allowed)
- you’re worried about border/customs variability and you have zero flexibility in your schedule
- you need more than a small carry-on unless you’re willing to pay checked luggage fees
Should You Book This One-Way Ferry to Seattle?
Overall, I think this is a smart booking when your priority is simplicity and good value for time. For $136.50, you get a high-speed crossing, comfortable seating, duty-free shopping, and an arrival at Pier 69 that plays nicely with Seattle plans. The ride is timed for a day trip length, not a whole travel saga.
I’d book it if you want the scenic payoff without extra planning, and if you can keep your packing to the one small carry-on rule. I’d also book it if you care about views, since Vista/upper deck seating is the easiest way to make the scenery feel like part of the trip rather than background.
Skip or at least hesitate if your day is so scheduled that customs delays could wreck it. Add buffer time for Seattle arrival, and re-check your seating level at boarding so you get the class you paid for.
If you do that, this ferry becomes one of those rare travel choices that feels both efficient and enjoyable—exactly what you want when you’re crossing two countries in one sitting.
FAQ
How long is the ferry ride from Victoria to Seattle?
The trip is listed at about 3 hours.
Where do I depart in Victoria?
You start at 254 Belleville St., Victoria, BC V8V 1W9.
Where do I arrive in Seattle?
You arrive at 2701 Alaskan Way, Seattle, WA 98121 (Pier 69).
Is this a mobile-ticket experience?
Yes, you get a mobile ticket.
What seating options are available?
You can choose Economy Class seating or upgrade to Comfort & Vista Class seating.
Is checked luggage included?
No. Checked luggage is not included and fees apply per piece each way.
How much carry-on luggage can I bring?
You’re allowed one small carry-on item.
Can I buy food and drinks onboard?
Yes. Food and beverage are available to purchase, though they are not included in the price.
What documents do I need for the border crossing?
A US Passport, Passport Card, Enhanced Driver License, or an Enhanced ID card (EDL/ID) is required to cross the US/Canadian border by land and sea. A passport is required for air travel, and Passport Cards/EDL/ID are not valid for air travel.
What is the cancellation cutoff?
You can cancel for a full refund up to 24 hours before the experience start time.